
This post continues a running series on the design of Cave Story, pushing us onward into the Sand Zone. If you missed the posts leading up to this one, read them here, here, and here before continuing.
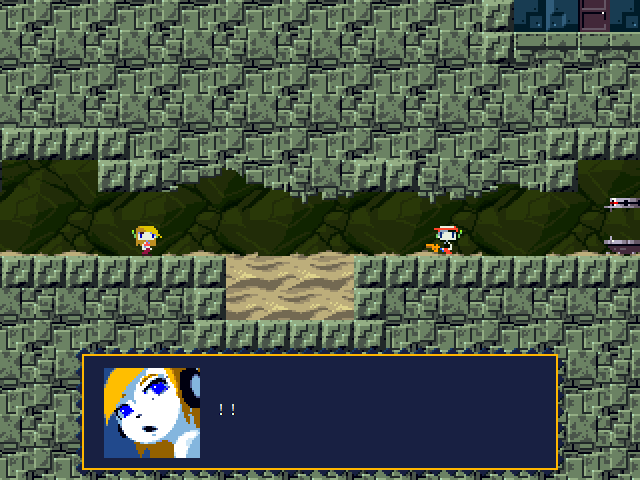
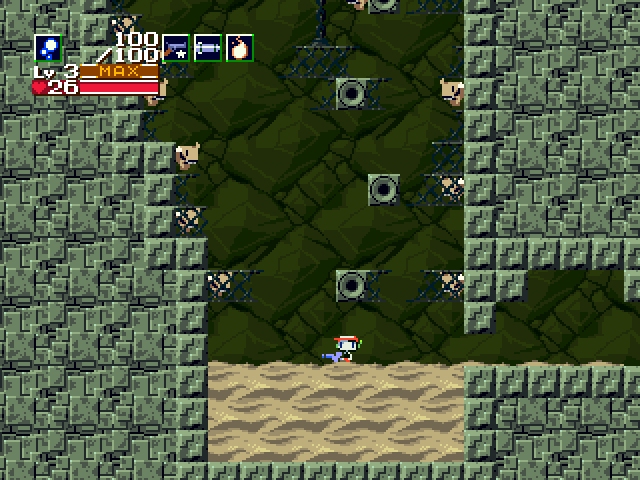
As soon as the player enters the area and gets past the first encounter with Curly, they’re presented with a climbing segment swarming with Beetles. This encourages the player to multitask, with both platforming and shooting at the same time. The initial setup acts as an antepiece, a relatively low-risk example of the kinds of challenges—setpieces—which will be present later on in the area.
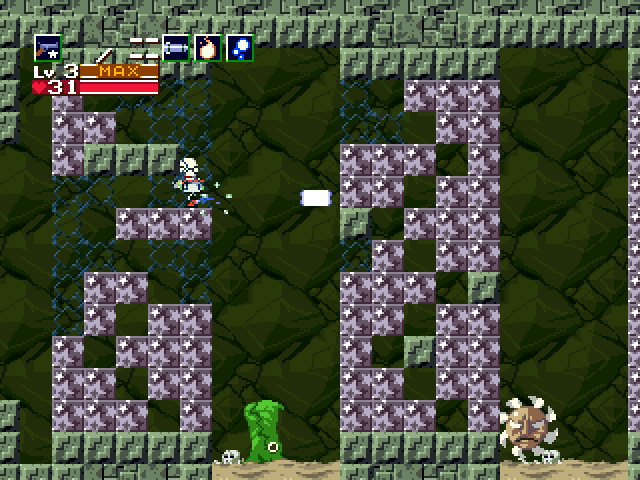
Compared to earlier areas, the Sand Zone is far less forgiving, but it balances this with clear indications of problem sections. For instance, proceeding towards Omega, there are several towers entirely built of breakable blocks. This serves to punish random shooting by breaking down the high road, while high-damage Sand Crocs lie in wait below. At the same time, the bones scattered around the sand pits note their presence, and succinctly imply the danger they pose.
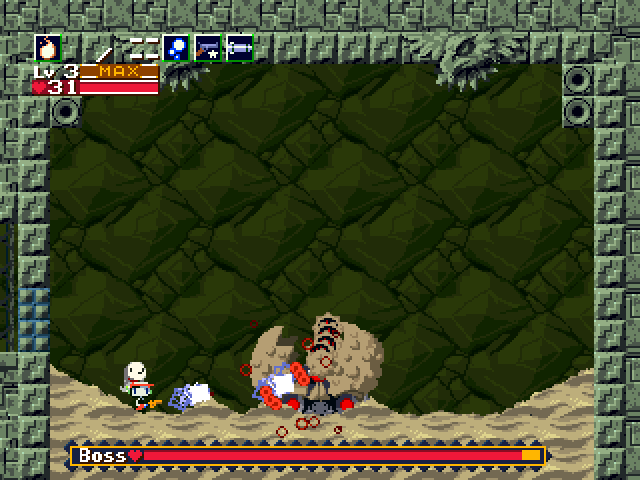
You may have noticed that the terrain in Omega’s arena bears some resemblance to our recent grassy outing. The hills here serve the same function as those in the Bushlands: indicating that the Fireball is a particularly effective weapon against it.
The progression actually becomes somewhat nonlinear once the dogs are thrown into the fray. There are five dogs scattered throughout the Sand Zone, all of which must be retrieved to progress. Each of the dogs can be obtained in any order, and the game encourages the player to explore to find them. Additionally, common tells are presented to signify hidden passages—in this case, pawprints on blocks—without being overly obvious.
 This dog is right at the start, where the player is unlikely to miss them: in the rest area right after a boss.


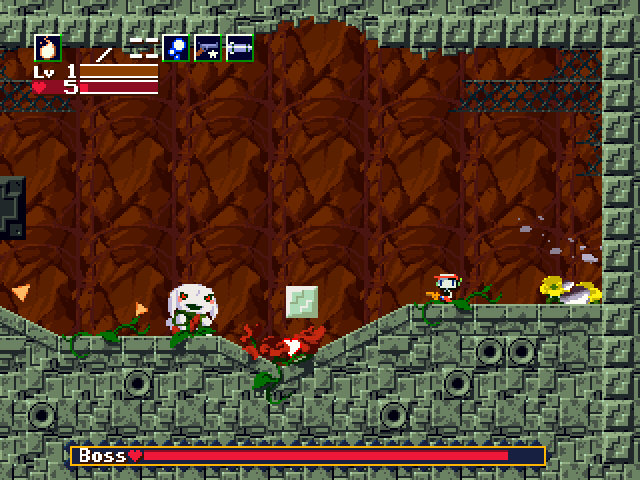
Finally, there’s a second boss in the area. Once again, hilly terrain encourages the Fireball, but because she jumps around so much and throws blocks which can’t be destroyed by the player’s attacks, it’s less effective than in other places where hills appear. In some cases, the level design seems to encourage a solution which may not be the most direct in execution.
And that’s all we’ve got for the Sand Zone! Join me back here in a couple of weeks to see where we go next.