
This post continues a thorough dive into the design of Cave Story. If you missed them, read the other parts here, here, here, and here before continuing.
The Labyrinth starts rather similarly to the Sand Zone, with a climbing segment and enemies placed along the way. While it also bears the relatively low risk of the Sand Zone’s entry, as Cave Story doesn’t have fall damage, it is a significantly longer climb. One fall can mean a long path to retread.
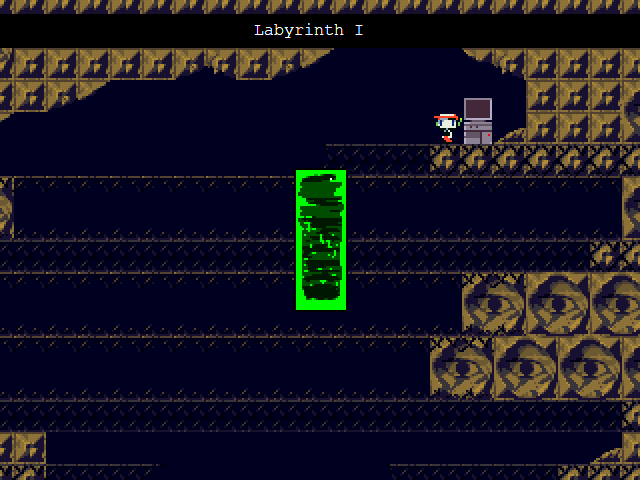
As icing on the cake, the top of the first room introduces a major threat: moving blocks, which will kill the player instantly if they get crushed. These moving blocks are a major feature of the Labyrinth, and this room acts as yet another subtle tutorial for their function.
Further on in the Labyrinth, the challenges presented by the moving blocks become more difficult. From the two in the next room which threaten to crush the player, to the later ones required to reach Monster X, they go through a natural development, increasing alongside the player’s capacity to handle them. This is evident earlier in the game too, from the basic platforming of the Egg Corridor to the Bushlands’ spikes and fans and the Sand Zone’s more aggressive enemies. Each area has its focus, and through its trials builds upon it so the player understands its function before moving on.
 There's little consequence for failure on these. Most mistakes will just send the player back down.


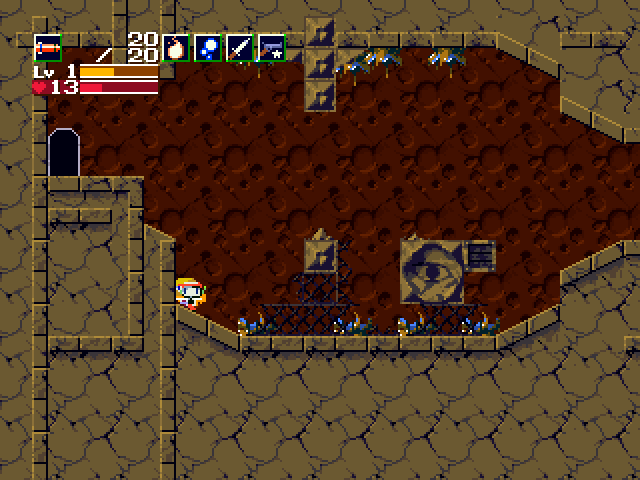
Moving on to the resident evil cat, Monster X is the most complex boss encountered thus far. It has multiple phases, hits like one would expect from heavy machinery, and floods the screen with projectiles during its stopped phases.

However, this abundance of projectiles actually offers a boon to the player as well: every last one of them can be destroyed and has a chance to drop missiles, hearts, or weapon energy, providing recovery as the fight goes on. Similarly, after the marathon that is Monster X and the third Balrog fight, the final section of the Labyrinth is full of breakable objects and destructible projectiles, which, if the player avoids talking to Professor Booster, are the first chance they have for life recovery for a while.
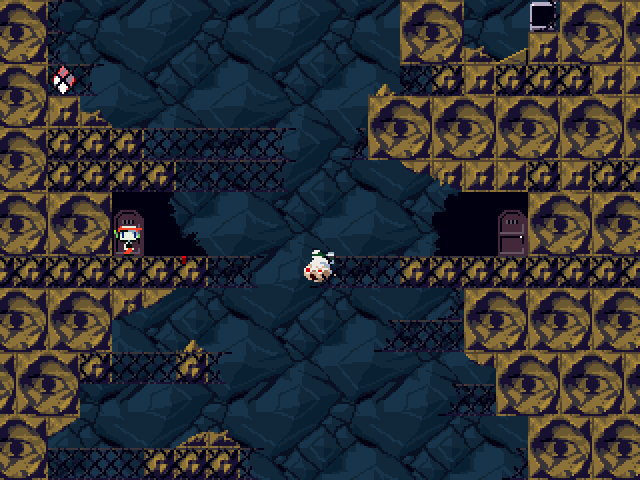
Speaking of avoiding Professor Booster, the jump required is a very precise one. The game does a couple of things to mitigate this: first, there’s an easily accessible save point above it, so they can restart after Monster X if they make a mistake. Second, a small, red mark on the floor indicates the exact point at which the player should jump. It’s subtle, but it doesn’t appear anywhere else in the game, and it has enough contrast with the rest of the terrain to be indicative.
That’s about all we’ve got to cover for the Labyrinth. Check back again in a couple of weeks to continue this trek through Cave Story!